Recent Blogs

Precision Solder ball Analysis Using Ion Beam Polishing and SEM
Recent Blogs Precision Solder Ball Analysis Using Ion Beam Polishing

Tariff Policy Simplified: Stability, Transparency, and Trust
Recent Blogs JHT Tariff Policy: Stability, Transparency, and Trust Stability,

Demonstration Equipment: Beating The Tariff Trap
Recent Blogs Demonstration Equipment: Beating the Tariff trap In a
The Case of the Missing SEMs: A Story of Quick Thinking, Teamwork & Tech Recovery
Recent Blogs The Case of the Missing SEMs: A Story
How To Choose The Correct Mounting Method And Epoxy For Your Samples
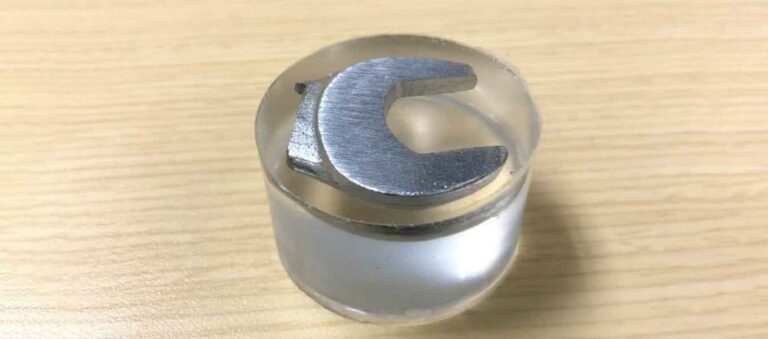
We often get questions from clients about which mounting method is best for their samples, before grinding and polishing. This application note will discuss our experience with sample preparation epoxy systems.
Why do we mount samples in the lab?
Before we dive into sample mounting methods and recommendations, we need to discuss why we mount. We mount samples primarily to:
- Handle samples more easily
- Make samples consistent with each other and batch to batch
- Enable automation
While there are other methods to mount samples, here we look at mounting in the industry-standard round “pucks.”
Sample Mounting Methods: Compression vs. Casting
Compression Mounting
Compression mounting allows a fast and effortless way to mount durable samples quickly.
In compression mounting, a sample is put into a mounting press, then powdered epoxy (phenolic or thermoplastic) is added to the chamber. The epoxy is then subjected to pressure and heat to create a puck with the sample embedded.
The compression mounting process is quick. It takes 7-8 minutes per sample, and up to two mounts can be made at a time. The process is simple and repeatable.
Beyond speed, the advantage of compression mounting is that the cured epoxy is harder. As a result, it is less susceptible to separating from the sample when grinding. In addition, it is easier to maintain flatness during processing.
Disadvantages of Compression Mounting
One disadvantage of compression mounting is that it is not suitable for delicate samples that can be affected by pressure or heat. Compression mounting is performed at an average of 350° F and 4000 PSI.
Therefore, most electronics, thin-walled devices, and plastics/polymers must be mounted with a different technique.
A second disadvantage is the cost of the tool and facilities requirements. Buying a compression mounter may not be cost-effective if you are a low-volume lab. In addition, facilities such as running water and drain are needed to cool the compression chamber.
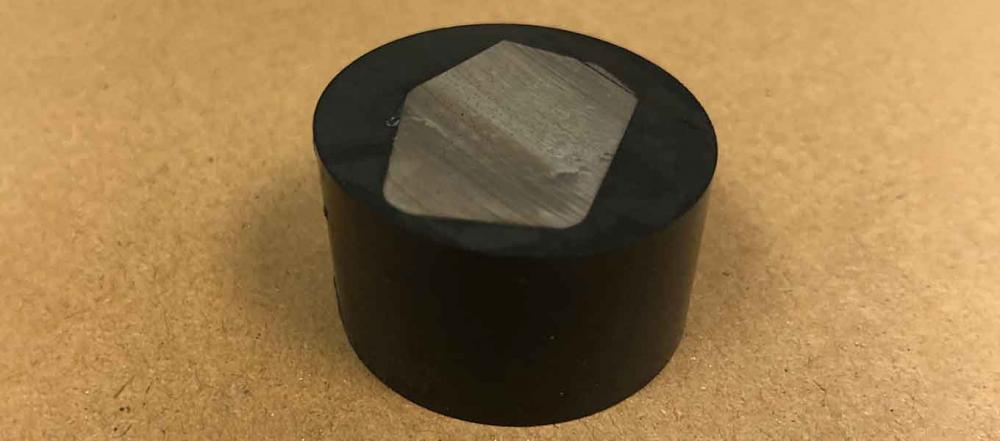
Example of a Compression Mounted Sample
Casting Method to Mount Samples
Casting samples in mounts utilizes two-part acrylics or epoxies. Casting does not require any equipment. All you need are mounting cups and disposable mixing materials, along with the appropriate acrylic or epoxy.
Casting Samples with Acrylics
Acrylics cure much faster than epoxies. Therefore, casting samples with acrylic is convenient if you want to cast quickly or have many samples.
In addition, acrylics tend to be harder than epoxies. This prevents doming of the sample which can occur during the grinding and polishing steps.
Doming happens when the mounting material grinds off faster than the sample itself and thus creating a domed surface rather than the desired flat surface.
Acrylics can be more complex to work with, as they tend to come in a powder and liquid combination, which may make them difficult to mix correctly.
Also, because acrylics cure quickly—between 8-30 minutes—their viscosity changes quickly upon mixing. As a result, the tech must process samples immediately before the material sets. Due to this rapid viscosity change, acrylics do not penetrate the gaps and pockets in porous samples as well as epoxies. This may cause problems during grinding/polishing.
Casting Samples with Epoxy
Epoxies come in two-part liquid form and take longer to cure. Normally they have a lower exothermic reaction (how hot they get), therefore they are better for mounting temperature-sensitive samples.
Longer epoxy cure times—2 hrs. to 9 hrs.—allow more time for the material to penetrate gaps and pockets compared to acrylics. In addition, these extended cure times allow technicians to mix larger batches of epoxy for mounting multiple samples at once.
Disadvantages of Casting with Epoxy
Disadvantages of epoxies include longer cure times and a softer cure. Epoxy-mounted samples require more care during the grinding and polishing process to prevent doming.
BEST PRACTICE TIP: To prevent doming, use shorter grinding and polishing steps in addition to fresh grinding papers and films.
Mixing is Critical for Both Acrylic and Epoxy Mounting
Both acrylic and epoxy mounts need the correct mix ratios (either by volume or weight) to get proper performance. Mixing incorrectly can create uncured mounts, overheated mounts, or mounting material that does not adhere properly to the sample.
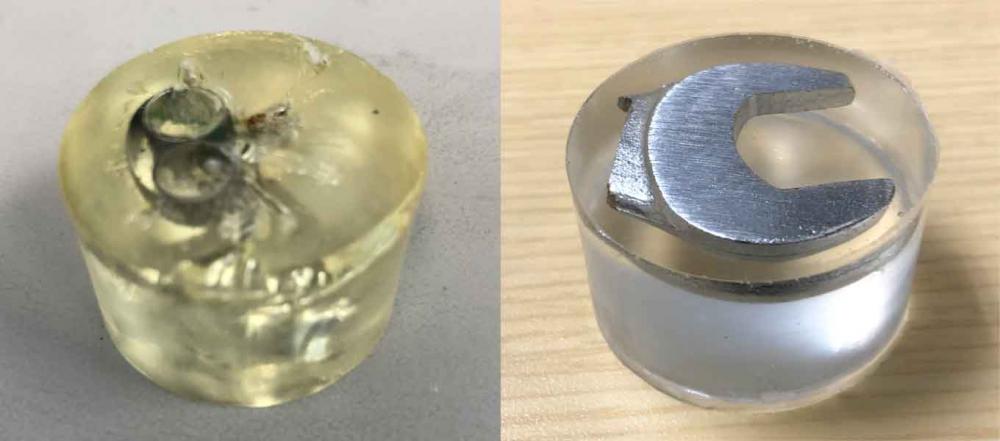
The image below left is for a poorly mixed epoxy that has not cured well. Below right is properly mixed and cured.
